Week 1:

Setting_project_directory
-
Placing the cursor In Property Pannel press (S) to open Project Setting.
-
In Project directory find the path or location of the project as shown in video this can solve error or missing file problem.
-
We can see Frame Range, fps, Video full size format match with the video imported. for example, if video format is 1080p set full size format to 1080p.

Color Space
Primary Colours: RGBA
Nuke Works with Red, Blue, Green Channels
https://i.postimg.cc/wBzmd3qk/1.png
When we look into the viewer it looks like:-
https://i.postimg.cc/zXWQdPVR/2.png
https://imgflip.com/gif/7taryy
https://i.postimg.cc/LsM0svqf/3.png
[url=https://postimg.cc/mc77x7QH][img]https://i.postimg.cc/mc77x7QH/bLUE.png[/img][/url]
[url=https://postimg.cc/8spM3Js7][img]https://i.postimg.cc/8spM3Js7/GREEN.png[/img][/url]
[url=https://postimg.cc/xN1mb7Bv][img]https://i.postimg.cc/xN1mb7Bv/RED.png[/img][/url]
MERGE NODE
1. To Bring Merge node press "M" in Node Graph.
2. Merge Node Combines Foreground Elements to Background. (FG to BG)


Exercises
01


02


03
Week: 2
How to Import Image Sequence using Read node?

1. Press "R" in node graph to bring "Read node"
2. In File locate the image sequence directory and open it. for example here i import balls_roto.####.jpg
3. Other way is to drag and drop file directly into the nuke.

How to Save your file properly in Systematic Industry standard naming style?
1. For Example Project Folder name is Nuke_roto_basics/Shots/Balls.
2. In this Folder create new folder Rename it to "DATA" then inside data create new folder name COMP.
3. Name the project file as Balls_v001_01. So, it will look like: -
(Balls/DATA/COMP/Balls_v001_01)
Week 2: My Recording
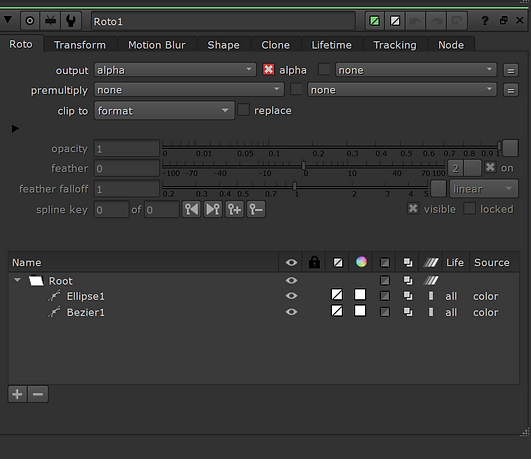
ROTO NODE :
1.Press "o" in node graph to bring "Roto Node"


This week I worked on Hand and learn about how to breakdown roto shapes, Deal with motion blur, image sequence(.dpx), Aovs and some quite interesting stuffs in Nukex.


To Turn on Motion Blur after completing animation go to: -
(Properties- Roto node selected- Motion blur and toggle on Motion Blur). (After that if you can't find keys, you need to switch back to Roto node) (note: Roto shape must be selected.
To Move Anchor point press "CTRL" and place it to where we need to make center of rotation then match the shape with footage: -
(If you found jerky moment, use shift to make moment smooth)
In this week I work on different keying techniques using luma keyer, Croma keying, garbage matte, premult, keying vs Roto
Premult Node

The Premult node multiplies the RGB layers by the alpha layer. With the result that transparency becomes visible in the viewer.
-
The Premult node works by multiplying the RGB channels by the alpha channel.
-
Where it is black (0) it is transparent
-
Where it is white (1) it is opaque, ie the image is visible
-
When it is a value in between (ie 0.5) it will be partially transparent
Luma Key
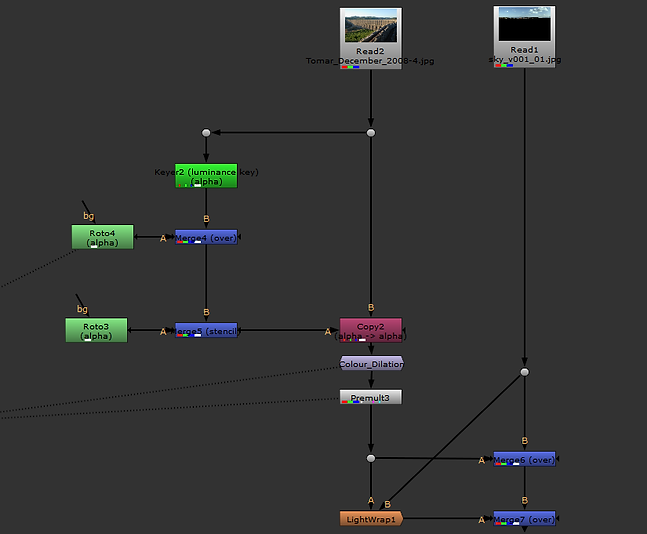

Keyer(Luminance key)(alpha)

use Merge and attached roto node(alpha)

For garbage use Stensil operation in merge node to cut out


use copy node to bring together channels rgb+alpha then use premult (multiply rgb with alpha)


Practise

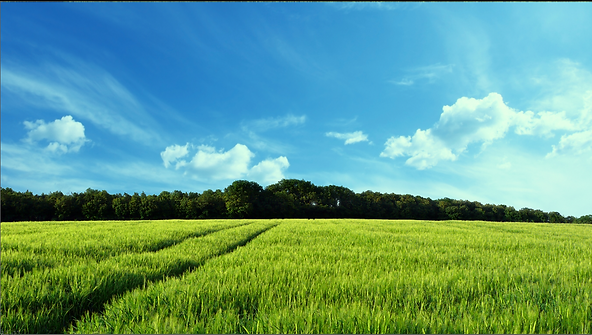


Keylight


Homework

In this week I work on different keying techniques using luma keyer, Croma keying, garbage matte, premult, keying vs Roto
Grade Node

The Premult node multiplies the RGB layers by the alpha layer. With the result that transparency becomes visible in the viewer.
-
The Premult node works by multiplying the RGB channels by the alpha channel.
-
Where it is black (0) it is transparent
-
Where it is white (1) it is opaque, ie the image is visible
-
When it is a value in between (ie 0.5) it will be partially transparent
Aces Color Space
Color Grading


Luminance (Lift)
Color(Multiply)
"Y"


BG
FINAL


Week 7: Advanced Keying


WEEK 7 - TRACKING IN NUKE


ONE POINT TRACK

CORNERPIN 2D
TWO POINT TRACK


Week 9: Cleanup and Patch repair


Week 10: Key Skills recap
“DOUBLE CLICK HERE OR CLICK EDIT TEXT TO ADD SOME POSITIVE FEEDBACK ABOUT YOUR SERVICES"


LOGO REMOVAL

Week 11: Complex Cleanup


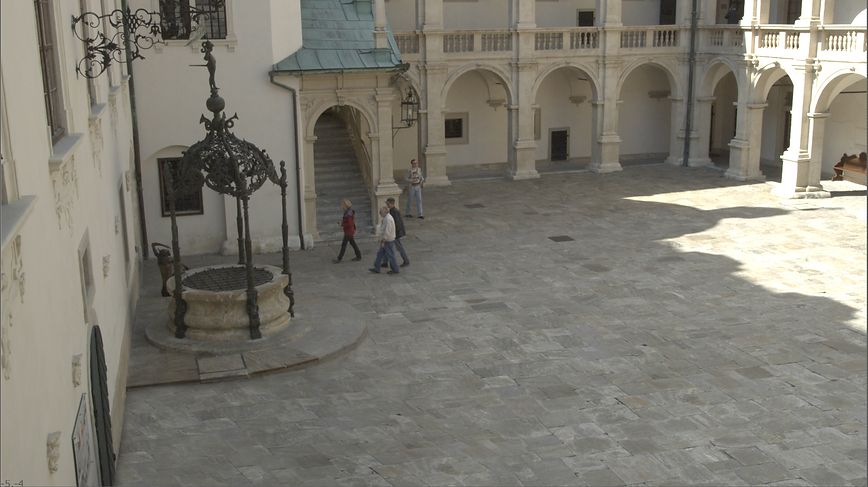

CLEANUP OF MOVING WATER


Indy_Jones Workshop
JOSH PARKS MASTERCLASS
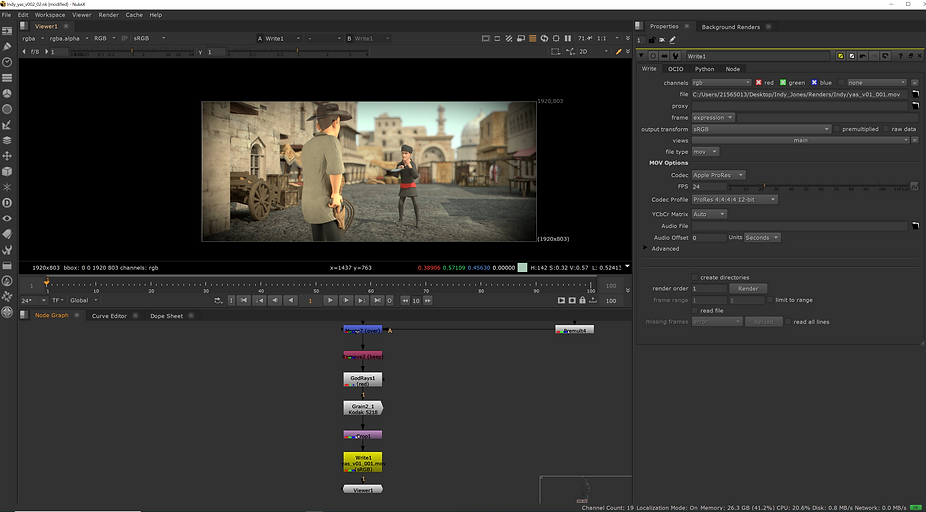


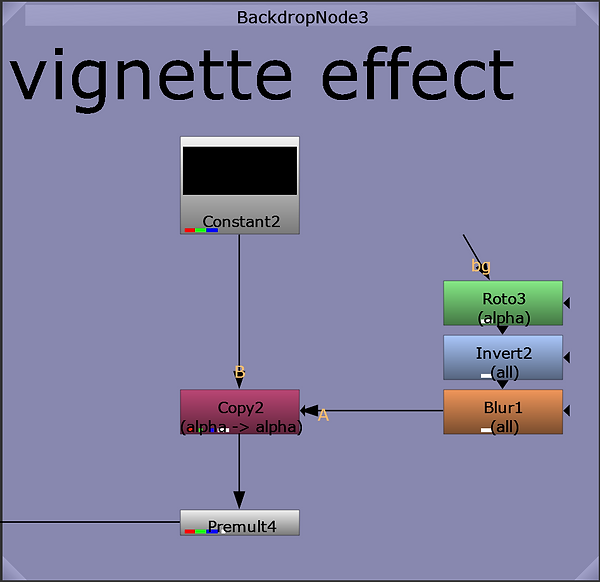
Rope_Shot


CLEAN PLATE

FINAL COMP

Assisgnment 1 idea

lower the grade (light)
blue lightup more
play with lighting in bg blues
make logo blur
make the keygood


Preparation of idea


FINAL WORKS


